
Para Product Builders
Empezar un caso
Empieza hoy tu propio proyecto: una carpeta, una sesión abierta sobre ella, el primer prompt y los hitos que siguen.
Empieza con tu propio proyecto, no con un ejercicio. Un resultado del que eres responsable, una carpeta con todo lo que necesita, una sesión abierta sobre esa carpeta y el prompt de abajo. Todo lo demás es la secuencia de hitos, en orden.
Tu proyecto
Formula en una frase el resultado del que eres responsable: para quién es, qué problema, qué resultado. Lo llevas en vertical, front y back, desde el discovery hasta producción. Design, Frontend, Backend y API, Data, los accesos, la entrega y la revisión son servicios horizontales en los que te apoyas, no personas a las que pasas el resultado.
Lo que va en la carpeta
Todo lo que el proyecto necesita va en una sola carpeta creada para él, en lugar de quedarse disperso entre discos, buzones de correo y pestañas.
Descarga la carpeta del proyecto y ponle el nombre de tu proyecto.
Contiene los cuatro archivos con los que trabajas, vacíos y listos, y el método en sí: la skill ya está instalada para Claude Code y para Codex, así que no hay nada que configurar. Ponla donde guardas tu trabajo — no en una carpeta que se sincroniza sola con la nube. Descargar la carpeta del proyecto
Pon cada documento que el proyecto ya tiene en su carpeta
sources/lo que se escribió antes, lo que se recibió, lo que reuniste tú, sea cual sea el formato. Tú no conviertes nada: el primer prompt convierte lo que puede y dice lo que no pudo. Si un asistente ya tiene material de un trabajo anterior, haz que copie esos archivos en la carpeta antes que nada: lo que está en el directorio temporal de una sesión muere con la sesión, y lo que un asistente simplemente recuerda no es en absoluto una fuente hasta que está escrito en la carpeta.
Abre un canal para el proyecto ese mismo día
no un archivo, y no es opcional: todas las personas implicadas en el producto están en él, incluida la gente de negocio.
Abre la sesión de control a la vez que la primera.
Una segunda sesión sobre la misma carpeta, con el prompt de la sesión de control pegado dentro y el nombre de la primera sesión en su último corchete. Su único trabajo es cuestionar a la primera. Abrirla ahora es justamente lo importante: si la dejas para más tarde, nunca llega a abrirse, y una desviación solo se detecta el día en que, por casualidad, lo preguntas.
Los tres archivos, y por qué no son fuentes. PROJECT_MEMORY.md es la capa de razonamiento: dónde está hoy el producto, las decisiones y sus contrapartidas, y qué fuente prevalece cuando las fuentes discrepan. PROJECT_JOURNAL.md es el registro cronológico: fechado, al que solo se añade, nunca reescrito, incluido lo que resultó ser un error. prd-template.md es la plantilla que completa el hito 2 y que leen todos los hitos posteriores. El primer prompt deja los tres fuera de lo que inventaría: son los registros propios del proyecto, no material. Entrada de memoria · Entrada de diario · Plantilla de PRD
Hacerlos a mano también funciona — dos archivos vacíos y la plantilla de PRD guardada a su lado — siempre que existan antes de que se ejecute el primer prompt, no cuando te acuerdes. Lo que no tendrías así es la skill, que viaja dentro de la carpeta.
Abrir la sesión sobre la carpeta
Abre la sesión o el proyecto de tu asistente sobre esa carpeta. En este punto no es un repositorio: no hay aplicación, nada que compilar, nada que ejecutar. Es una carpeta de fuentes, y eso basta para empezar. El repositorio llega en el hito 4, cuando clonas el starter de frontend de tu organización junto a la carpeta y mueves a él el PRD, la memoria y el diario, en docs/.
El primer prompt
- Dónde pegarlo
- Una sesión nueva de tu asistente de código, abierta sobre la carpeta del proyecto. El prompt es autosuficiente: nada que adjuntar, nada que ir a buscar.
- Con la skill
- La carpeta descargada ya la trae, para Claude Code y para Codex. Pídela con tus palabras — «Aplica el método Onirion a esta carpeta» —, algo que funciona en todas las versiones;
/oniriony$onirionson atajos donde la versión los ofrece.
Estás en el hito 0 del método: preparar un nuevo proyecto de producto.

La carpeta del proyecto es aquella sobre la que está abierta esta sesión.
Trabaja solo dentro de ella.

Haz esto, y nada más:
1. Recorre `sources/` y la raíz de la carpeta del proyecto, y lista todos
   los archivos que encuentres. Omite las herramientas del propio
   asistente — cualquier carpeta que empiece por un punto, como
   `.claude/`, `.agents/` o `.git/`, y todo lo que contenga. Omite también
   los registros propios del proyecto — `PROJECT_MEMORY.md`,
   `PROJECT_JOURNAL.md`, `prd-template.md`, `START-HERE.md` y
   `sources/README.md`. Ninguno de ellos es una fuente.
2. Todo lo que sea una fuente va en `sources/`. Una fuente que esté en la
   raíz de la carpeta del proyecto se mueve ahí, sin cambios y sin
   renombrarla; es el único movimiento que puedes hacer. Después convierte
   a Markdown todo lo que puedas convertir, en la subcarpeta `converted/`.
   Nunca modifiques, renombres ni sobrescribas un original.
3. Escribe `converted/INDEX.md`: una línea por fuente, con el nombre del
   archivo, qué es y de qué fecha es. Si no puedes fecharlo, dilo.
4. Lista todo lo que no pudiste leer o no pudiste convertir, y por qué.
5. Añade una entrada fechada a `PROJECT_JOURNAL.md`: qué convertiste, qué
   no pudiste leer y dónde están los archivos convertidos.

No analices el contenido. No saques conclusiones. No escribas un PRD.
No envíes nada a ninguna parte — ningún servicio, ningún canal, ninguna
dirección.

Devuelve el índice, la lista de lo que no pudiste leer y dónde pusiste
los archivos convertidos.

Antes de terminar, di en qué hito estás, qué tienes, qué falta y qué tengo
que decidir yo antes de que pases al siguiente hito. Decir lo que vas a
hacer después no es permiso para hacerlo: pasas cuando yo respondo, no
cuando lo anuncias.
Lo que el asistente debería responder. El índice, lo que no pudo leer, dónde puso los archivos convertidos y en qué punto está el trabajo:
Hito 0, preparar la carpeta del proyecto.

Lo que tengo: todos los archivos de la carpeta recorridos y listados. Lo que
se podía convertir está en `converted/`, con una línea por fuente en
`converted/INDEX.md` — el nombre del archivo, qué es y de qué fecha es, o
«sin fecha» cuando el archivo no lleva ninguna. Ningún original se ha
modificado, movido, renombrado ni sobrescrito, y se ha añadido una entrada
fechada a `PROJECT_JOURNAL.md`.

Lo que no pude leer: los PDF escaneados sin capa de texto y una hoja de
cálculo protegida con contraseña.

Lo que falta: tres archivos no llevan ninguna fecha que yo haya podido
establecer, así que el índice los marca como sin fecha. No he interpretado
nada del contenido.

Lo que tienes que decidir antes de que pase al hito 1: si la exportación
antigua del backlog es material para el discovery o historial que dejar de
lado.
No interpreta nada y no envía nada a ninguna parte. Lee el índice que devuelve y la lista de lo que no pudo leer, y cubre ahora los huecos evidentes, mientras sale barato. El prompt tiene su propia página: Inventariar y convertir.
Después, hito a hito
El hito 0 te deja todo en una sola carpeta, convertido e inventariado. Lo que sigue es un hito cada vez, cada uno con el prompt que usa, y cada prompt termina pidiendo a la sesión que diga en qué punto está el trabajo.
- Hito 1 · Reunir el discovery — Lo que se sabe, lo que falta y lo que se contradice, escrito en
DISCOVERY.mdpara que el hito siguiente pueda abrirlo por su nombre. Leer los canales - Hito 2 · Escribir el PRD — Un solo documento, cuya primera sección es el planteamiento estratégico, afinado y alineado con el negocio, incluidas las partes técnicas. Analizar y escribir el PRD · Plantilla de PRD
- Hito 3 · Prototipar los flujos de principio a fin — Tu sesión asume el rol de PM y pide a la herramienta de diseño flujos completos, e iteras hasta que las personas implicadas dicen que es su herramienta. Prompt de diseño — especificación · Capa de instrucción · Prompt de refinamiento
- Hito 4 · Llevar el prototipo al código — Dentro del starter de frontend de tu organización, con el front en marcha junto al diseño y tantas idas y vueltas como haga falta. Llevar el prototipo al código · Sin convenciones de backend escritas · Anticipar las necesidades de backend
- Hito 5 · Conectar el backend — El largo: flujo a flujo, en profundidad, incluidos el estado vacío, el error, la respuesta lenta y el permiso que dice que no, con cada cambio contrastado con las convenciones de backend antes de la revisión. Conectar el backend
- Hito 6 · Probar y después lanzar — Cuentas en manos reales mientras el trabajo de conexión sigue en marcha, y después la luz verde de los leads de las disciplinas implicadas. Preparar una puesta en producción
- Hito 0, Preparar la carpeta del proyecto
- Hito 1, Reunir el discovery
- Hito 2, Escribir el PRD
- Hito 3, Prototipar los flujos de principio a fin
- Hito 4, Llevar el prototipo al código
- Hito 5, Conectar el backend
- Hito 6, Probar y después lanzar
Tu propio proyecto recorre la secuencia completa: el hito 0 en esta página, los hitos 1 a 6 en la guía principal, con lo que exige cada uno y los prompts que usa.
De una carpeta con el material de discovery reunido a un front en el que puedes hacer clic: de tres a cuatro horas en el mejor de los casos y veinticuatro en el peor, cuando el discovery ya está en parte reunido. Después, alrededor de un mes para conectar el backend de modo que los flujos se sostengan en profundidad, según el tamaño de la aplicación. El código pasa igualmente por la revisión de los desarrolladores, y la supera, porque el agente trabaja dentro del starter y de las convenciones de tu organización. Estas cifras salen de la práctica del propio autor, no de un estudio.
Lo que atraviesa todos los hitos
La sesión de control
Una segunda sesión cuyo único trabajo es cuestionar a la primera, abierta desde el discovery hasta el backend. Lee, verifica y cuestiona; no cambia código, no decide el alcance y devuelve hallazgos con su evidencia. Decides tú. Sesión de control
La salvaguarda permanente
Antes de cada cambio en el código, el agente vuelve a tu starter de frontend y a tus convenciones de backend y los relee. Eso es lo que mantiene el trabajo generado dentro de una forma que un desarrollador puede revisar. Restricción permanente
El aprendizaje continuo
La investigación no se detiene cuando empieza la construcción. Mientras el front toma forma o el backend se conecta, sigues aprendiendo sobre el negocio, los usuarios y lo que necesitan; y cuando ese aprendizaje dice que el producto debería cambiar, lo cambias, en el hito en el que estés. Afina lo que ya existe: hace más preciso lo que construyes, no más largo. Y sigue siendo ligero — recoger lo que dicen los usuarios es un hábito, no una maquinaria. Leer los canales
Cuando los servicios todavía no existen
Parte de aquello en lo que se apoya el método corresponde a Ops y no a ti: el design system en el hito 3, el starter de frontend y las convenciones de backend en el hito 4, el camino a staging y los leads que revisan en el hito 6. Si tu organización no tiene ninguno de ellos, no los inventes, y tampoco dejes que el agente los invente — una convención inventada sobre la marcha es lo que la revisión deshará más tarde. Pídelos, con un responsable designado y un artefacto con nombre.
Sin design system
Pide a Design Ops los componentes y sus estados, los tokens, las reglas de uso, lo que se puede extender y lo que no, y quién lo mantiene. Hasta que llegue, nombra un producto existente que tu organización ya acepte y diseña tomándolo como restricción, no como inspiración: el prototipo y el front tienen que seguir apoyándose en la misma referencia.
Sin starter de frontend aprobado
Pide a Frontend Ops el repositorio starter con su ubicación, su versión y su responsable; las convenciones de arquitectura, enrutamiento y estado; cómo se deben usar los componentes; el patrón de cliente de API, la autenticación, los errores y los estados de carga; los controles exigidos en una rama desplegable y el camino de previsualización; quién revisa el trabajo de frontend; y una versión de todo ello que un agente pueda leer.
Sin convenciones de backend escritas
Pide a Backend y API Ops el catálogo de API con ejemplos reales; las reglas de autenticación y de permisos; la forma de las peticiones y de las respuestas, los errores y el versionado; el significado de negocio de los campos clave y de los valores de estado; un entorno de pruebas con identidades de prueba y datos que se pueden usar sin riesgo; el procedimiento para pedir una API que todavía no existe; quién revisa el trabajo de backend; y las propias convenciones de backend, escritas como criterios con los que se puede verificar un cambio, empezando por la receta para los cambios más comunes (el archivo que leer, el ejemplo que copiar, lo que tiene que cambiar a la vez), en una versión que un agente pueda releer. Si el backend ya tiene código, en el hito 4 haz que el agente redacte las convenciones que ese código ya sigue, para que el responsable de backend las confirme. Convenciones de backend observadas
Practicar con un caso ficticio (opcional)
Si prefieres recorrer los hitos una vez con algo de lo que no depende nadie, el método trae un caso de práctica: una pequeña aplicación local con dos identidades, un interruptor que hace fallar el guardado y pruebas de aceptación que fallan antes de que implementes. Funciona en tu máquina, sin nada que instalar y sin cuenta.
Alguien escribe una actualización de proyecto, selecciona «Save draft», sale de la página y, al volver, descubre que el texto ha desaparecido. Esa queja es material inventado para el ejercicio: no es investigación, no es un usuario real, y nada aquí te pide que la trates como evidencia. El resultado del que eres responsable: quien escribe puede volver al texto que confirmó, y la segunda identidad no puede leerlo.
Después de que un guardado confirme que ha funcionado, quien escribe puede recargar la página, o cerrar sesión y volver a entrar, y encontrar de nuevo ese texto.
La segunda identidad no puede leer el borrador, ni en la página ni por su ruta de lectura directa.
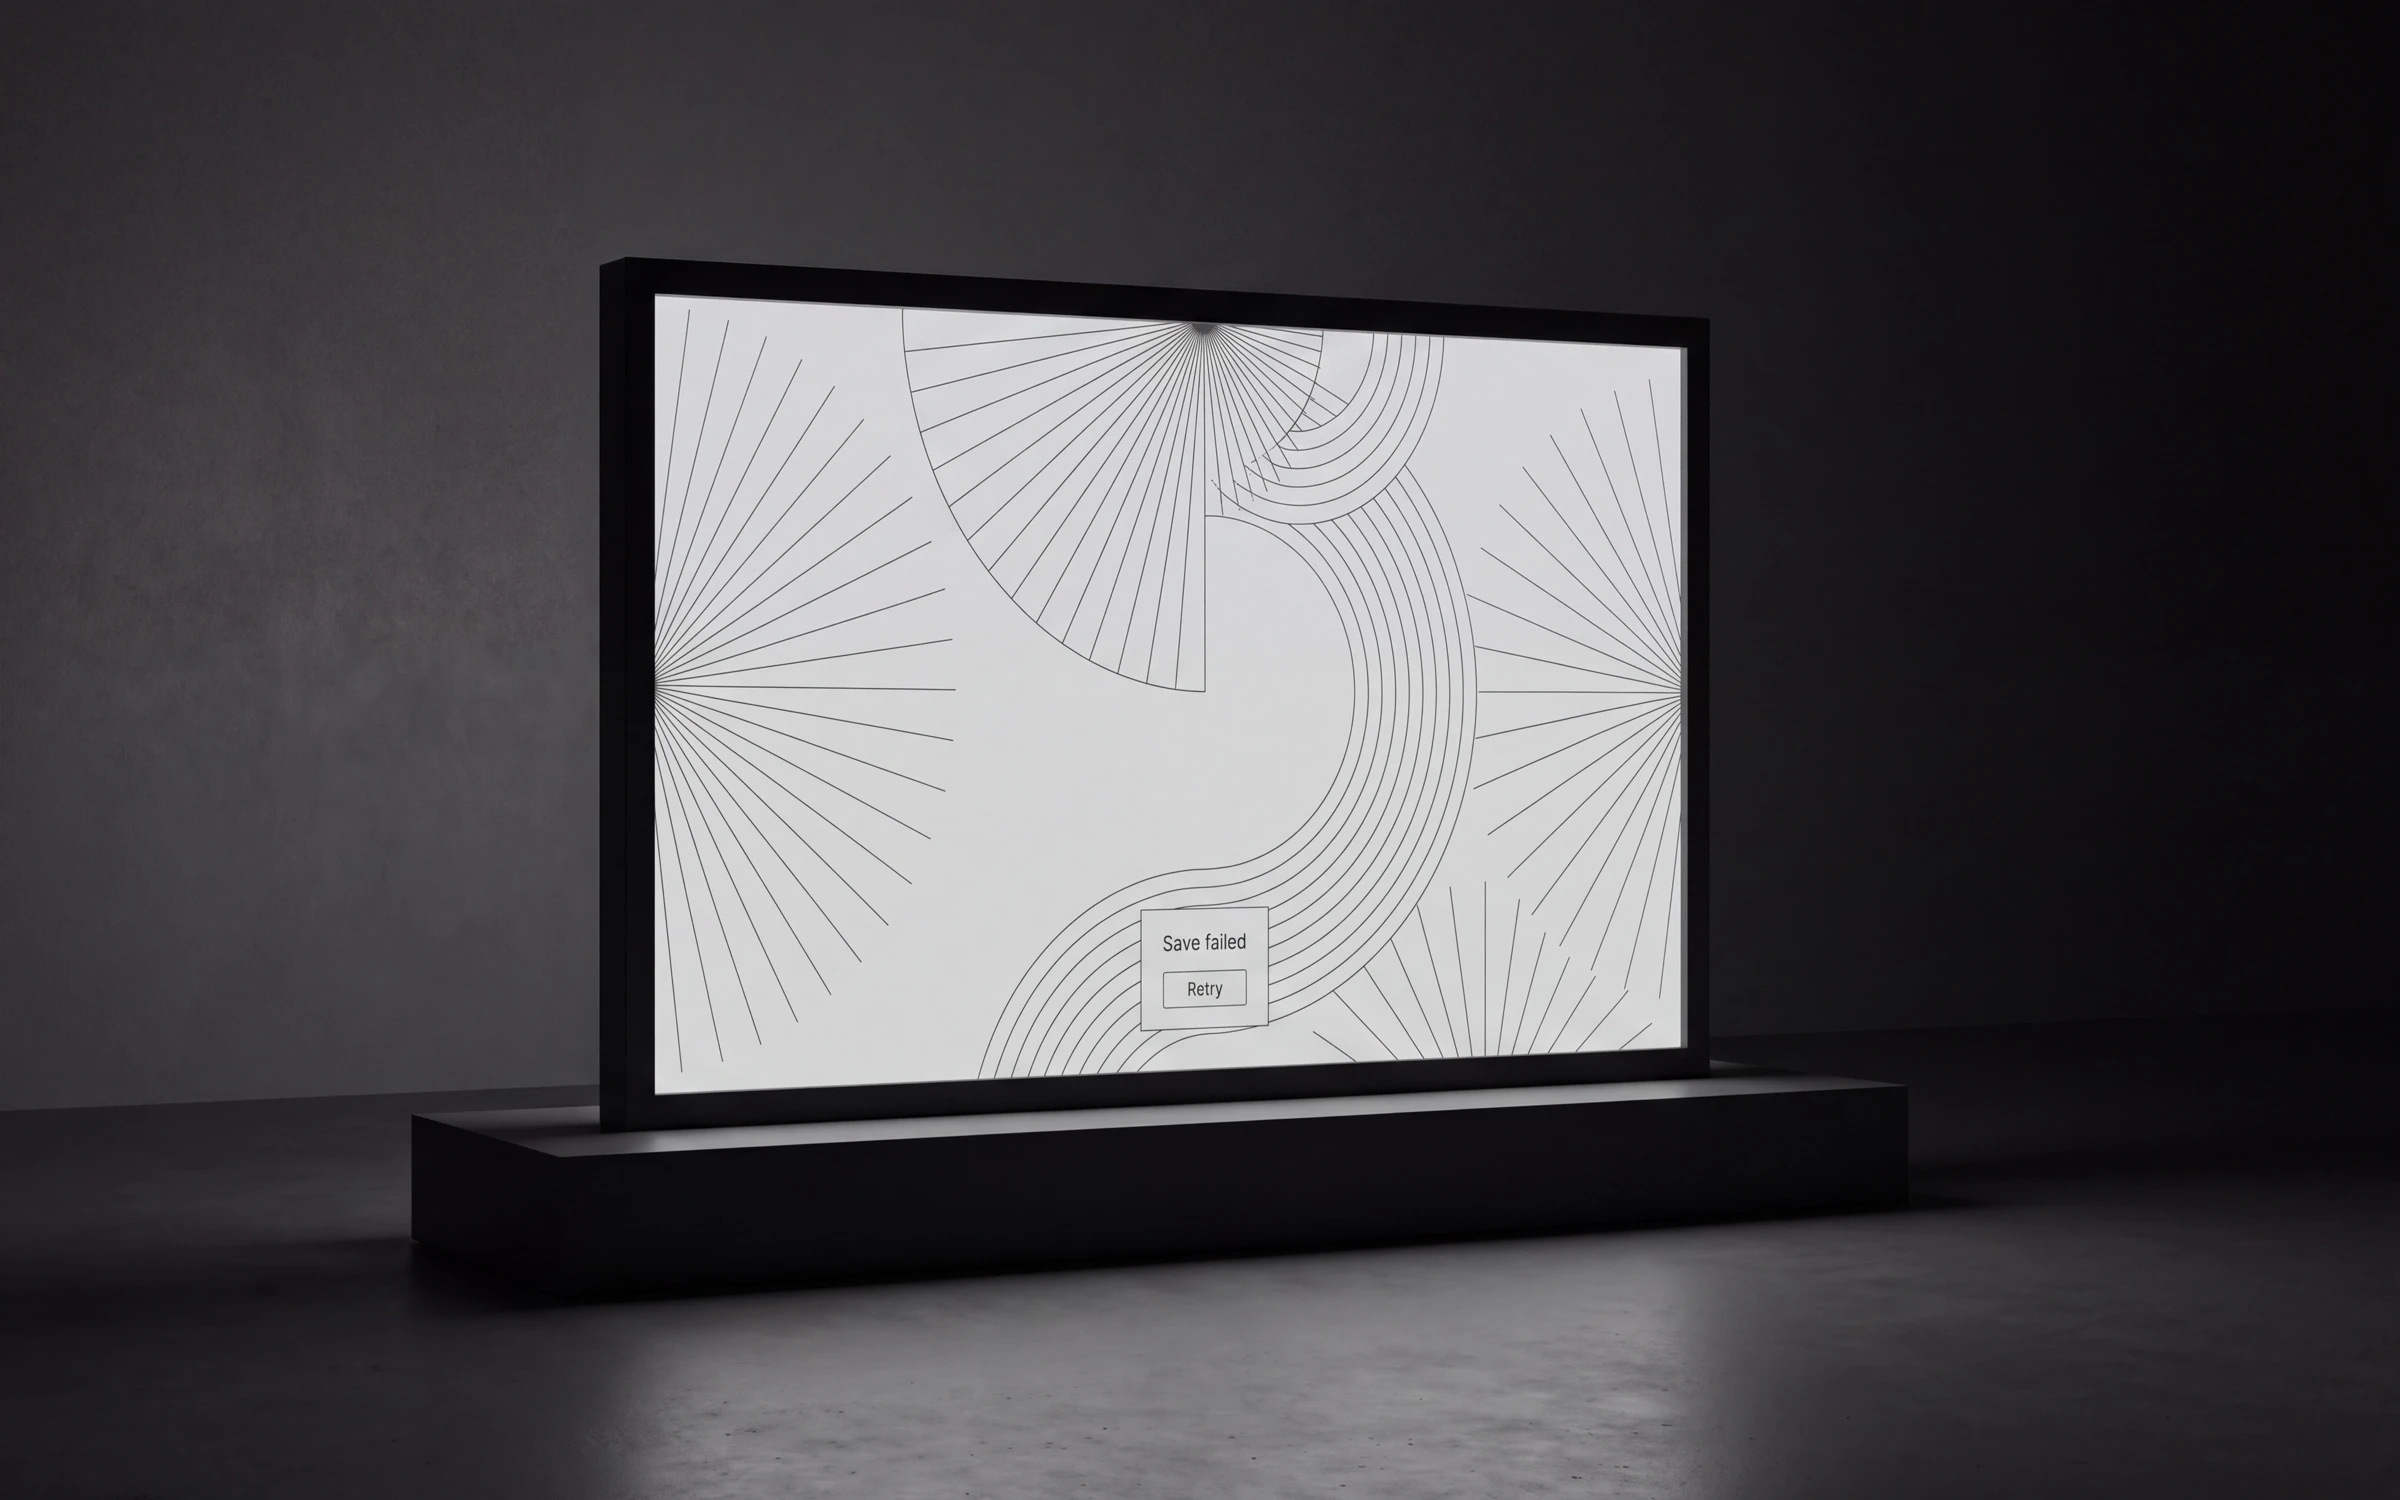
Un guardado fallido mantiene visible el texto editado, muestra un error y la opción de reintentar, nunca dice que ha funcionado, y una recarga antes de un reintento que funcione solo trae de vuelta el último texto confirmado.
La hoja de trabajo de abajo indica qué prompt ejecutar en qué hito, qué deberías tener en la mano cuando se cierra cada uno, y dónde anotar los servicios que el sandbox no puede darte — un starter, convenciones de backend, un design system, un camino a staging y los leads que dan la luz verde.
Abrir la hoja de trabajo Abrir el sandbox
Nada de lo que hace falta para este recorrido está reservado a la formación.
Archivo example/first-case.md · texto del kit, en inglés
Onirion · first case worksheet
A method by Alexis Boyer · version 4.0 · September 22, 2026
Run the method once, end to end, on a case nobody depends on. The application is the one shipped beside this file, at sandbox/. You walk the seven gates in order and fill the blocks as you go. The prompts are in the core guide; this worksheet says which one to run where, and what you should be holding when the gate closes.
The complaint that starts this case is a made-up exercise input. It is not research, it is not a real user, and nothing here asks you to treat it as evidence. Wherever the method asks what a source establishes, the honest answer on this case is: a fixture written for practice.
The case
Someone writes a project update, selects Save draft, leaves the page, and finds the text gone on return.
The outcome you own: the author can come back to the text they confirmed, and the second identity cannot read it — not in the page, and not through the direct read route.
What the sandbox already carries, and you can check yourself:
- two identities, chosen at
/as/authorand/as/reviewerand held in a local cookie; - one confirmed draft,
fictional-draft-001, owned by the author identity; POST /savefor the form,GET /api/drafts/fictional-draft-001for the direct read;- a Simulate failed save button that sends
simulate_failure=1, so the failure is reproducible with nothing external; - three deliberate defects: the save does not persist, the direct read answers the second identity, and the failure is swallowed and reported as success;
- three acceptance tests written against the intended behaviour, which fail before you implement.
Outside this case: deletion, expiry, two people editing at once, offline saving, real authentication.
Run the sandbox before you start
- Python 3.9 or newer. Nothing to install, no account, no network.
- From
sandbox/:python3 app.py, then openhttp://127.0.0.1:8766/. - Acceptance checks:
python3 -m unittest -v test_acceptance.py. Expect three failures. Three errors instead mean the environment stopped the tests binding their local server on127.0.0.1. - In Codex, the default
workspace-writesandbox blocks that local server. Allow network access for the session —codex --sandbox workspace-write -c sandbox_workspace_write.network_access=true— or run the test command yourself outside the sandbox. - The server binds to
127.0.0.1only and writessandbox.sqlite3beside the app. Delete that file to reset your manual run; the tests use a temporary database. - The identity switcher is a cookie, not authentication. Never deploy this server. Never put real data in it.
Open your assistant on the case folder
Ask for the method by name on the case — "Apply the Onirion method to this folder" — in Claude Code or in Codex; /onirion and $onirion are shortcuts where the version offers them. Whatever you use, ask for the gate statement every time, as the guardrail says: which gate it is at, what it has, what is missing, what you must decide before it crosses.
What the sandbox cannot give you
Five things the method asks for are not here: an approved frontend starter, written backend conventions, a design system, a path to staging, and leads who give the go-ahead before production. At each of those points this worksheet stops and has you write down the service that is missing and who you would ask. Do not invent another organization's standards, and do not let the assistant invent them either. Here you keep going inside the shape the sandbox already has, with the gap written down.
Copy this block each time the worksheet asks for it:
Service missing here:
What I would ask for, concretely:
Who I would ask (the role, not "someone"):
What I did instead on this run, and with whose agreement:
Date recorded in the journal:
The three things that run across the gates
Control session — opened in:
How it reaches the main session here:
If it cannot reach it: I relay the finding unchanged and say where it came from.
Limits written into its first prompt: it reads, checks, challenges; it does not
  change code; it does not decide scope; it does not write the PRD or the
  prompts; it returns findings with evidence and I decide.
Standing guardrail — what the agent re-reads before every change to the code:
What is missing from that list on this run:
The gate statement is asked for at every gate: yes / not yetContinuous learning — on this case there are no users and no channel, so what
stands in for them:
What I learned after the build started that I did not know at Gate 2:
What it corrected in what already existed, rather than added:
Where I wrote that down (PRD section, memory entry):Gate 0 — set up the project folder
What you do. Download the project folder and rename it for this case; the memory, the journal and the PRD template are already in it. Put the sandbox's three files into its sources/ folder — the README, app.py and test_acceptance.py — because on this case the code is material to read, not yet an application to change. Write the made-up complaint into sources/ too, in your own words, so the material is in the folder rather than on this page. Then run the inventory and conversion prompt, and read what comes back.
Prompt to run. The inventory and conversion prompt (Gate 0). It converts, indexes, and interprets nothing.
Case folder renamed to:
The sandbox's three files put into sources/ as:
The made-up complaint written down as:
If this were real, the people who would be in the project channel:
What `converted/INDEX.md` lists:
What the pass could not read:
The hole I filled straight away, while it was cheap:
You should be holding: everything for this case in one folder, converted, inventoried.
Gate 1 — gather the discovery
What you do. Take stock of what you actually have: the sandbox README, app.py, test_acceptance.py, and the made-up complaint. Read the code for what it establishes — the defects are in it, commented. The prompt writes DISCOVERY.md so that Gate 2 can open it by name; you read it back and correct it.
Prompt to run. The Gate 1 prompt, pointed at those three files by name, with its rules block unchanged. There is no channel and no mailbox on this case: the material an agent would normally read for you does not exist here, and that is a line to write down, not a gap to fill with invention.
Sources I actually have:
What is established, and which source establishes it:
What contradicts what, source against source:
What is absent — the questions this material does not answer:
Questions I would put to a stakeholder, if there were one:
My hypothesis on the product boundary:
Written to DISCOVERY.md: yes / not yet
What the control session challenged in the above, and what I did with it:
You should be holding: what is known, what is missing, what contradicts.
Gate 2 — write the PRD
What you do. Produce one document whose first section is the strategic framing. Answer the alignment questions rather than letting the agent choose silently — on this case you are the only one who can answer them, and you say so in the document.
Prompt to run. The PRD prompt (Gate 2), on converted/, converted/INDEX.md, DISCOVERY.md, the memory and the journal, with the template you saved into the folder as prd-template.md — it is in the kit — for the shape of each section.
The three acceptance criteria this case has to carry, because the shipped tests already state them:
- after a save confirms, a reload — and a switch away from the identity and back — brings the confirmed text back;
- the second identity gets neither the text in the page nor a 200 from
GET /api/drafts/fictional-draft-001; the denial does not contain the text; - a failed save answers 503, keeps the edited text in the field, shows an error, offers Retry, and never shows Saved; a reload before a successful retry restores only the last confirmed text; a retry that succeeds persists.
PRD written to:
Strategic framing, in three lines:
Product boundary — in:
Product boundary — out:
Roles: the author identity / the second identity, and what each may read:
The privacy rule that decides this case:
What wins when sources disagree, here:
Functional depth — flows that must really work:
Acceptance criteria — the three above, in my own words:
Open decisions, and who would take them if this were real:
Alignment questions the agent asked me, and my answers:
Every assumption marked as an assumption: yes / not yet
What the control session said about the framing, not only the coherence:
You should be holding: what is in and what is out, agreed — here, agreed with yourself, and written down as that.
Gate 3 — prototype the end-to-end flows
What you do. Let the session take the PM role and write the design prompt from the PRD. Ask for the whole flow, not the main screen: empty, editing, saving, saved, failed with its error and Retry, and the return after reload or a switch of identity. Ask for the narrow screen and for status and error messages a screen reader announces — the shipped tests read a role="status" message and a role="alert" message, so those are behaviour, not decoration.
Prompt to run. The design prompt — long specification — with the short instruction layer, and the refinement prompt if the first output is shallow.
Missing service. There is no design system here. Copy the missing-service block and fill it. Name a reference product you will follow instead, say it is a constraint, and write down that both the prototype and the code will draw on that same thing.
Missing service: design system
(copy the block above and fill it)

Reference product followed instead:
Screens and states the prototype covers:
Narrow-screen behaviour covered: yes / not yet
Status and error messages written as real copy: yes / not yet
Who I showed it to, and what they said:
Nobody depends on this case: what closed the gate was my own judgement, and
  that is recorded in the journal as such.
What the showings changed, written to memory and journal:
You should be holding: a prototype of the whole flow, and an honest line about who recognised it.
Gate 4 — port the prototype into code
*What you do. * The repository arrives here, as it does on a real case: a folder beside the sources. Copy the sandbox's three files out of sources/ into a sandbox/ folder at the top of the case, and move the working documents into it under docs/ — the PRD, PROJECT_MEMORY.md, PROJECT_JOURNAL.md, all three at once. There is no starter to clone, so you do not clone one: the application is the single standard-library file already in front of you, and you keep your changes inside the shape it has. Expect the session to stop before writing anything and ask for the starter and the conventions; that is the guardrail working, and your answer is the missing-service block below.
Prompt to run. The coding-agent prompt (Gate 4), plus the standing constraint carried in every coding prompt.
Missing services. Two blocks here, not one: no approved frontend starter, and no written backend conventions. Fill both before you let the agent write anything, and name what you would ask Frontend Ops and Backend and API Ops for.
Missing service: approved frontend starter
Missing service: written backend conventions
(copy the block above twice and fill both)

Working documents moved under docs/: yes / not yet
The slice I asked for first:
What I ran it with, and what I clicked:
What was off when I put the running page beside the design:
The back-and-forths it took:
What the control session found when it checked the port against the design:
What I adapted to the sandbox's existing shape, and why, in the journal:
You should be holding: a page that runs, that you can click, still failing the three checks.
Gate 5 — connect the backend
What you do. The backend on this case is the storage layer and the handler in the same file. Connecting it means making the three defects real behaviour: the save persists what was submitted, the read is scoped to the owner so the second identity is denied at the route, and the failure is no longer swallowed — 503, the edit still in the field, an error, a Retry, no Saved. Go deep on each flow before the next: the empty state, the error, the denial, the reload before a retry succeeds.
Prompt to run. The connection prompt (Gate 5), one flow at a time. Call the control session on anything that behaves oddly, and ask it to reproduce rather than fix.
Flow 1 — save and return. What I changed:
  Observed after reload:
  Observed after switching identity away and back:
Flow 2 — the second identity is denied. What I changed:
  Status returned by the direct route:
  What the body contains:
Flow 3 — the failed save. What I changed:
  Status returned:
  What stays in the field:
  What the error says, and where Retry is:
  What a reload before a successful retry restores:
  What a successful retry persists:
`python3 -m unittest -v test_acceptance.py` returned:
What I clicked as each identity, not only what the tests said:
Findings the control session sent to the main session:
Decisions to memory, changes and verifications to the journal, dated:
You should be holding: the three flows holding in depth, and the tests passing because the behaviour changed — not because a test was weakened.
Gate 6 — test, then ship
What you do. Put it in someone else's hands while you are still working, and fix what comes back. Then walk the delivery path as far as it goes here — which is local, and no further. The server binds to loopback and holds a fixture; nothing about this case is deployed, and the run ends by writing down where it stopped.
Prompt to run. The release prompt (Gate 6), as a rehearsal. It names what is in the release, what was tested and with which identities, what was verified and how, what is known to be unfinished, and which review did not take place.
Missing services. No staging and no delivery path, and no leads of the trades to give the go-ahead. Two blocks, filled before you write the release note, so the note can name them.
Missing service: a path from local to the repository to staging to production
Missing service: leads who give the go-ahead before production
(copy the block above twice and fill both)

Who else clicked it, and what they reported:
What I fixed as it came back:
Defects were handled as they appeared, so none were classified: yes / no
Checks I ran, and what they returned:
What I walked end to end myself, including the empty, error and denied states:
What is still unfinished:
Which review did not take place, and who was not there to give it:
Where this run stops: nothing leaves this machine.
Release note written to the journal, dated: yes / not yet
You should be holding: a case you can account for line by line — what you built, what you verified yourself, and which review nobody gave.
What the run leaves you with
The gate that was hardest, and why:
The prompt I had to run twice:
The moment the assistant crossed a gate I had not closed:
The services I wrote down as missing, and who I would ask on a real case:
The one thing I will do differently on a case that matters:
Text licensed CC BY 4.0. Code MIT.